

Courtney's Bedroom Makeover
Watch how Courtney and her partner transformed their bedroom in just 2 hours.
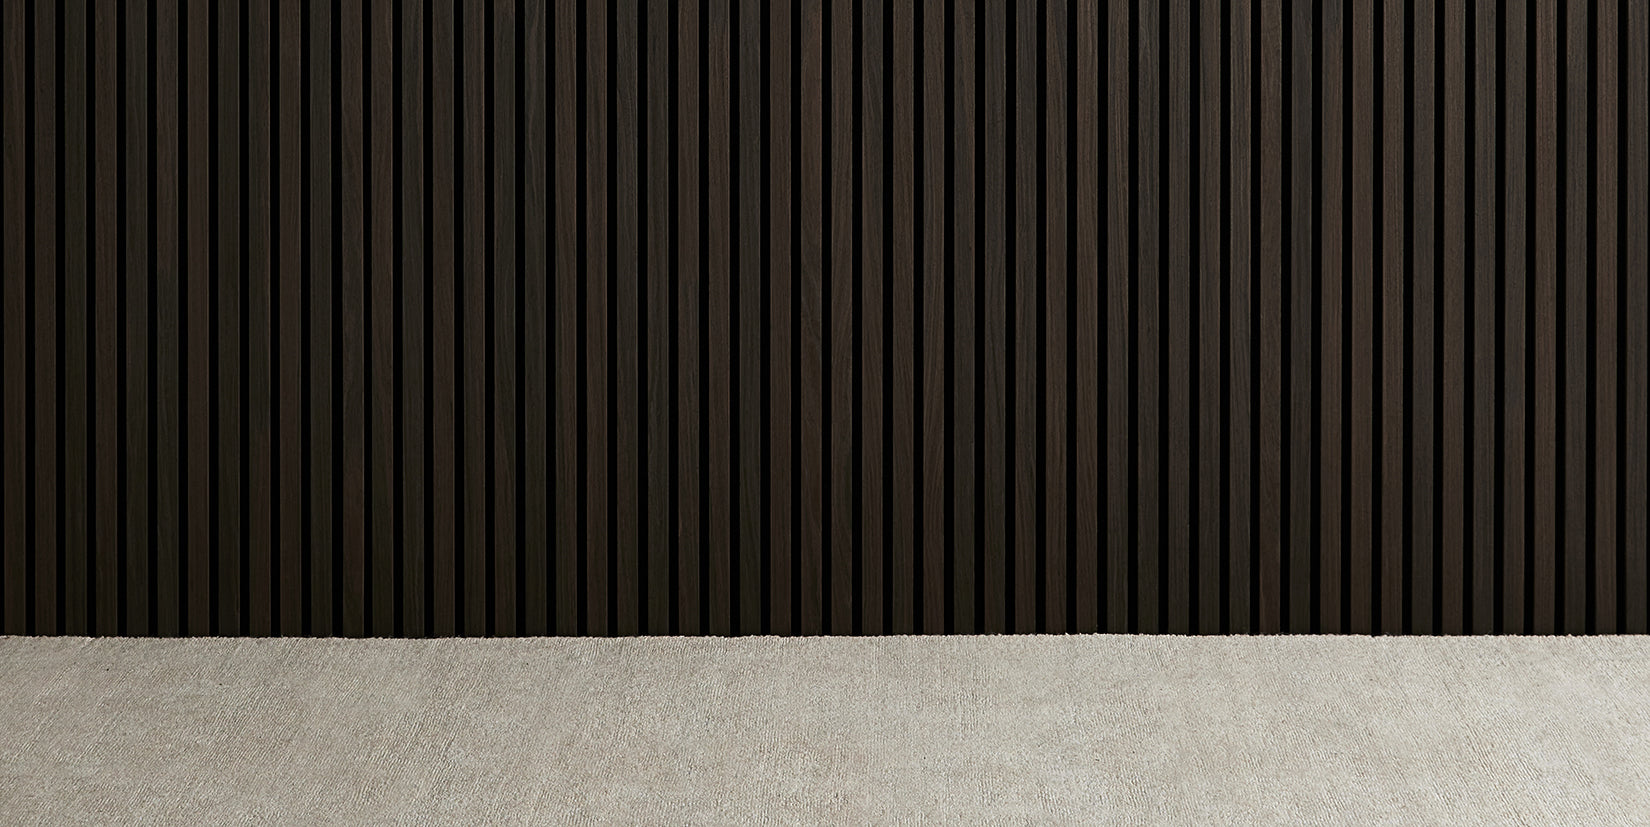
Simple Installation
We make installation easy for everyone, with panels designed for straightforward DIY —no special skills needed. Get started and see how effortless transforming your space can be.
How Do I Install Acoustic Wall Panels?
Installing your panels is truly straightforward — no special tools or experience needed.
Many of our customers, even those new to DIY, find the process quick and easy, with panels up in just a couple of hours.
You can choose from two simple installation methods: using construction adhesive or securing with screws.
Option 1: Construction Adhesive (like Liquid Nails)
- If your panel needs adjusting, simply trim it to the right height.
- Spread adhesive in a zigzag pattern on the back of the panel.
- Add a neat line of glue near the edges (but not right on the edge) to prevent any extra glue from squeezing out when pressed to the wall.
- Press the panel firmly against your wall. That’s it!
This method is fast, tidy, and delivers instant results.
Option 2: Screws
- Position the panel exactly where you want it on the wall.
- Start by screwing in the top and bottom corners on both sides (four screws total).
- Add two more screws evenly down each side for extra hold.
Each panel uses eight screws (four per side) for a secure fit.
Both approaches work perfectly—it’s all about your preference! Whichever you choose, you’ll have your new look set up quickly, with a professional finish that elevates your space right away.
How Do I Install Marble Wall Panels?
1. Ensure the wall is clean, dry and smooth. Measure your walls dimensions. Mark vertical and horizontal guidelines using a level for perfect alignment. Dry-lay panels on the floor to plan your layout.
2. Trim panels to fit using a fine-tooth or circular saw. Always cut with the decorative side facing up.
3. Apply tile glue in a zig-zag or "M" pattern to the back of the panel. Avoid applying too close to the edges to prevent overflow.
4. Press the panel firmly onto the wall, starting from a bottom corner. Use even pressure to bond the adhesive.
5. Press the panel firmly onto the wall, starting from a bottom corner. Use even pressure to bond the adhesive.
6. Install subsequent panels, ensuring tight alignment and a level finish. Apply waterproof sealant in between panels. This will create a seamless look and no need for trims!